Health Blog

Homemade Yoghurt: A Step-by-Step Guide
A Simple Start to Better Gut Health
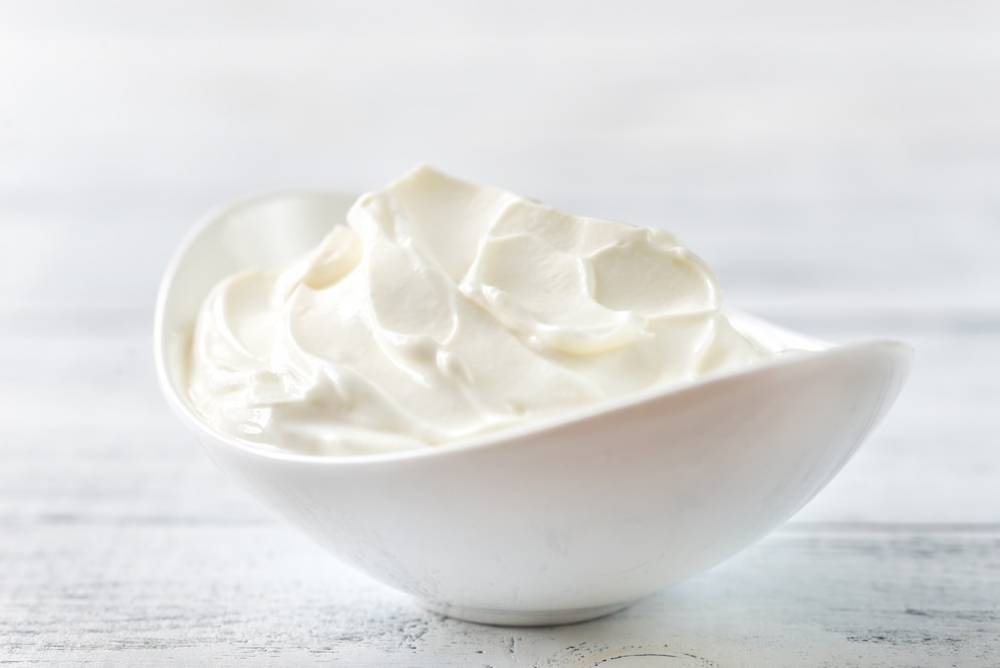
Is there anything more satisfying than creating something delicious and nourishing from scratch? Homemade yoghurt is more than just a healthy breakfast. It’s full of probiotics that help your digestion.
Fermenting your own yoghurt is a great way to focus on quality. In a world where convenience often wins, this method encourages mindful eating. You control the ingredients, so no more added sugars or preservatives. Plus, each spoonful helps your gut microbiome thrive.
This guide is for everyone, from DIY pros to those curious about fermented foods. It will clearly and encouragingly take you through the whole yoghurt-making process. Plus, we’ll cover the health benefits of this probiotic recipe, tips for customisation, and common pitfalls to avoid.
Let’s dive in!
What Makes Yoghurt So Good for Your Gut?
Yoghurt is more than just a creamy treat. It’s a fermented dairy product packed with probiotic bacteria, mainly Lactobacillus bulgaricus and Streptococcus thermophilus. These live cultures aid digestion, reduce inflammation, and balance your intestinal flora.
Probiotics in Homemade vs. Store-Bought Yoghurt
- Fewer additives: Store-bought varieties often contain stabilisers and sweeteners.
- Higher live culture count: Freshly made yoghurt tends to have more active probiotics.
- Customisation: Control the texture, flavour, and fermentation time.
If you often feel bloated or have digestion issues, homemade yoghurt can help. It’s a simple way to support your immune health, too.
Equipment You’ll Need
Before you begin, gather the following kitchen basics:
- A heavy-bottom saucepan (preferably stainless steel)
- A cooking thermometer (to monitor milk temperature)
- A whisk or spoon (wooden or silicone is best)
- A large bowl or container
- A clean towel or cloth
- A strainer (optional, for Greek-style yoghurt)
- Glass jars or containers for storage
No fancy yoghurt maker? No problem. Your oven, a thermos, or even a sunny windowsill can double as an incubator!
Ingredients (Just Two!)
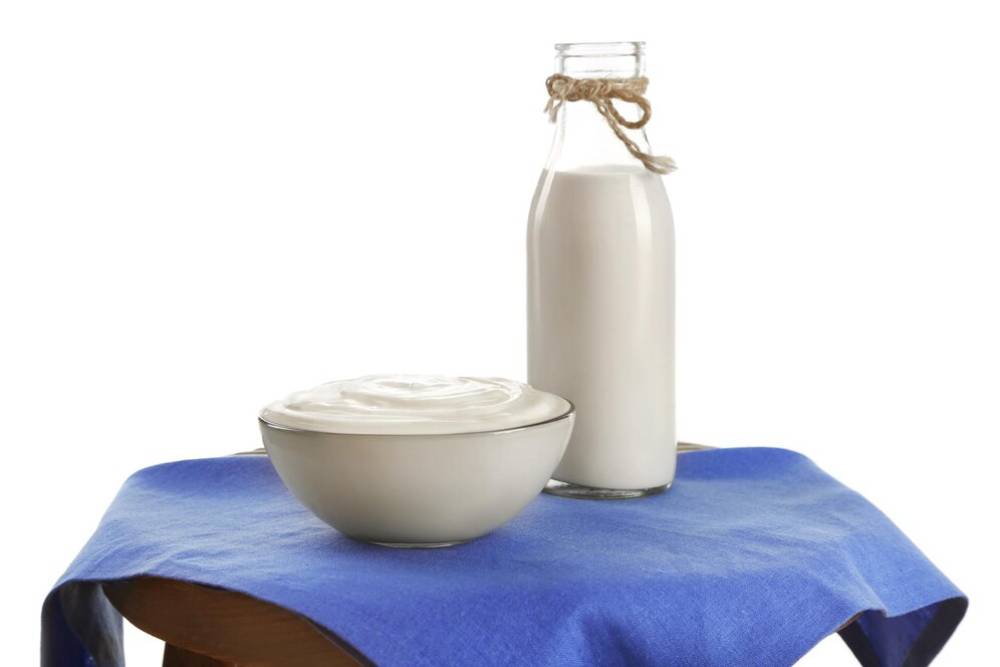
- 1 litre of whole milk (or any milk of your choice)
- 2 tablespoons of plain yoghurt with live cultures (as a starter)
Tip: For your first batch, use a quality organic yoghurt with active cultures. Once you have a successful batch, you can use your own homemade yoghurt as a starter for future batches.
Step-by-Step Guide to Making Homemade Yoghurt
Step 1: Heat the Milk
Pour the milk into your saucepan and heat it gently over medium heat until it reaches 85°C (185°F). Stir occasionally to prevent scorching.
Why? This step changes the milk proteins. It makes a smooth, set yoghurt instead of a watery or grainy one.
Step 2: Cool It Down
Remove the saucepan from the heat and allow the milk to cool to around 43–46°C (110°F).
Quick tip: You can speed this up by placing the pot in a cold water bath. Use your thermometer to check.
Step 3: Add the Starter
In a small bowl, mix your starter yoghurt with a few tablespoons of the cooled milk. Then whisk this mixture back into the rest of the milk in the saucepan.
Note: Avoid adding the starter when the milk is too hot, as it can kill the beneficial bacteria.
Step 4: Incubate
Pour the mixture into your jars or bowl and cover with a lid or a clean towel. Place it in a warm spot (ideally around 40°C/104°F) and let it ferment for 6 to 12 hours.
- Shorter time = milder taste
- Longer time = tangier flavour and thicker texture
Try the oven with the light on, a yoghurt maker, or even a wrapped-up jar in a warm towel.
Step 5: Chill and Store
Once your yoghurt has thickened and set, refrigerate it for at least 2 hours. This helps improve the texture and flavour.
You’ve officially made your own yoghurt! It should last up to 2 weeks in the fridge.
Customising Your Homemade Yoghurt
Once you’ve nailed the basic process, it’s time to make it your own.
Here are a few ideas:
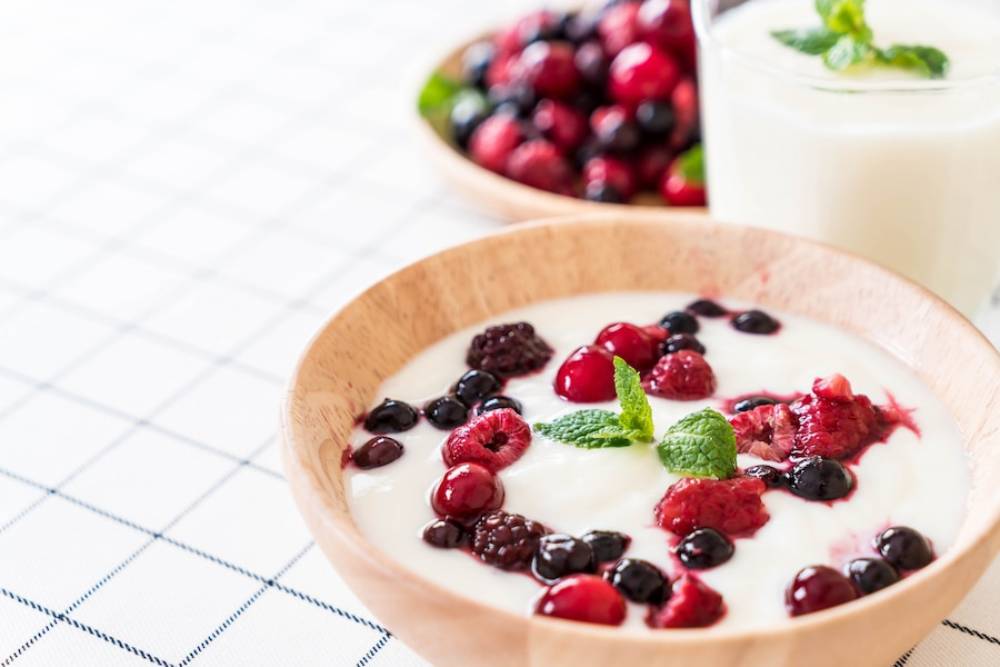
Flavour Boosters
- Fresh fruit or berry compotes
- Honey or maple syrup
- Vanilla extract or cinnamon
- Granola or nuts for crunch
Non-Dairy Alternatives
Prefer plant-based options? You can use:
- Coconut milk
- Almond milk
- Soy milk
Note: Non-dairy versions usually require thickeners like agar agar or tapioca starch. They also need specific vegan-friendly cultures.
The Gut Health Connection
Still wondering why all this matters? Here’s a closer look at how homemade yoghurt supports gut health:
1. Rich in Live Cultures
Fermentation fills yoghurt with good bacteria. These bacteria help with digestion and boost nutrient absorption.
2. Anti-Inflammatory Benefits
Probiotics support your gut barrier. This may lower systemic inflammation, which can lead to many chronic conditions.
3. Better Nutrient Uptake
A healthy gut microbiome helps the body absorb important nutrients. These include calcium, B12, and magnesium.
4. Immune System Support
Around 70% of your immune system resides in your gut. Probiotic-rich foods like yoghurt help strengthen this defence line.
Common Mistakes and How to Avoid Them
Like any kitchen experiment, yoghurt-making has a few tricky spots.
Here’s what to watch out for:
- Yoghurt too runny? Increase fermentation time or strain through muslin cloth for thicker Greek yoghurt.
- Bitter taste? You may have over-fermented. Try shortening the incubation next time.
- Didn’t set? Your milk may have been too hot when the starter was added, or your starter culture may have been inactive.
Don’t be discouraged. Practice truly makes perfect here.
Real-Life Story: From Sceptic to Superfan
A friend of mine, Claire, was always wary of making anything “fermented.” To her, it sounded too science-y, too unpredictable. After some digestive issues and a push from her nutritionist, she decided to try homemade yoghurt.
A few weeks in, her bloating was reduced, and she felt energised and more in tune with her eating habits. Plus, her kids started enjoying yoghurt parfaits as afternoon snacks. Claire now makes a batch every Sunday, calling it her “gut-friendly ritual.”
Conclusion: Start Your Gut-Healthy Journey Today
Homemade yoghurt is more than a fun kitchen project. It’s a simple, effective way to prioritise your health from the inside out.
This probiotic recipe deserves a spot in your weekly rotation. It helps with digestion and boosts immunity. Plus, it provides a base for many delicious dishes.
So, why not give it a try this weekend? Your gut will thank you.
Ready to take the plunge? Share your first yoghurt-making experience in the comments or tag us in your creations. Subscribe to our newsletter for more probiotic-rich recipes and gut health tips!


YOU MAY LIKE