Health Blog
How to Make Fermented Vegetables at Home
Why Fermented Vegetables Matter for Your Gut Health
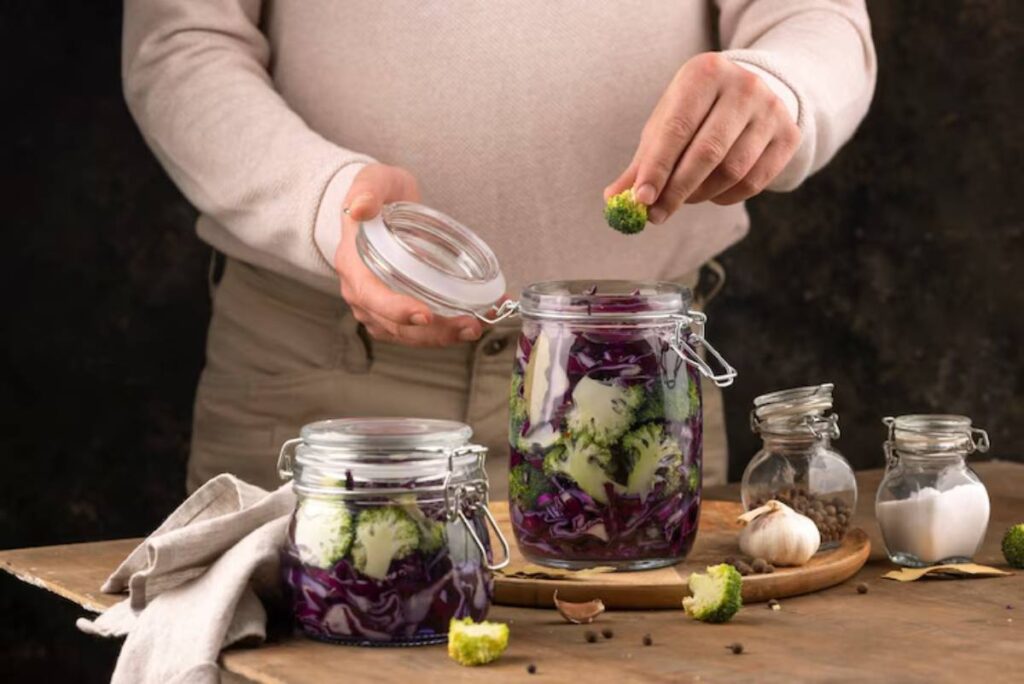
Imagine turning your kitchen into a probiotic hub. Fill jars with colourful, tangy veggies that are good for your gut. The magic of fermentation lies in its simplicity and profound health benefits. More people are learning about gut health and its effects on immunity, mood, and skin. So, they are choosing DIY probiotics as a natural way to boost their well-being.
Fermented vegetables are more than a fad dish. These are time-honoured, word-of-mouth traditions you can find in all corners of the world! From German sauerkraut to Korean kimchi, these foods have nourished cultures for centuries. You eat clean, additive-free probiotics when you create gut-friendly recipes at home.
This guide will explain the science of fermentation, how to ferment at home, and helpful tips. It’s for the curious novice or the serious enthusiast, and everyone in between.
Pro Tip: Eating fermented vegetables often can push out bad bacteria. This creates space for good microbes to grow.
Understanding the Core: What Are Fermented Vegetables and Why Are They Good for You?
Fermentation is a thing that happens all by itself. Microorganisms like bacteria and yeast change carbohydrates from vegetables into acids or alcohol. When it comes to vegetables, lactic acid bacteria are the stars. These beneficial microbes metabolise sugars. They create lactic acid, which keeps them from spoiling. This is what gives it that tangy flavour and is the whole point of the process.
The Health Benefits of Fermented Vegetables:
- Supports Gut Health: Fermented vegetables are full of DIY probiotics. They help balance the gut microbiome, which is important for digestion and overall health.
- Boosts Immunity: A robust gut can enhance immune function, reducing susceptibility to infections.
- Boosts Nutrient Absorption: Fermentation makes nutrients like B vitamins, vitamin K2, and some antioxidants easier to absorb.
- Aids Digestion: Fermented foods can help reduce bloating, boost regularity, and support a healthy gut.
Fermentation helps preserve food and promote health across different cultures and continents. Today, we know more about the gut-brain axis and microbiome. So, fermenting vegetables at home is more important than ever.
Important: Clean and sterilise all jars, lids, and utensils well. This helps prevent contamination.
Quick Guide: Key Steps to Making Fermented Vegetables
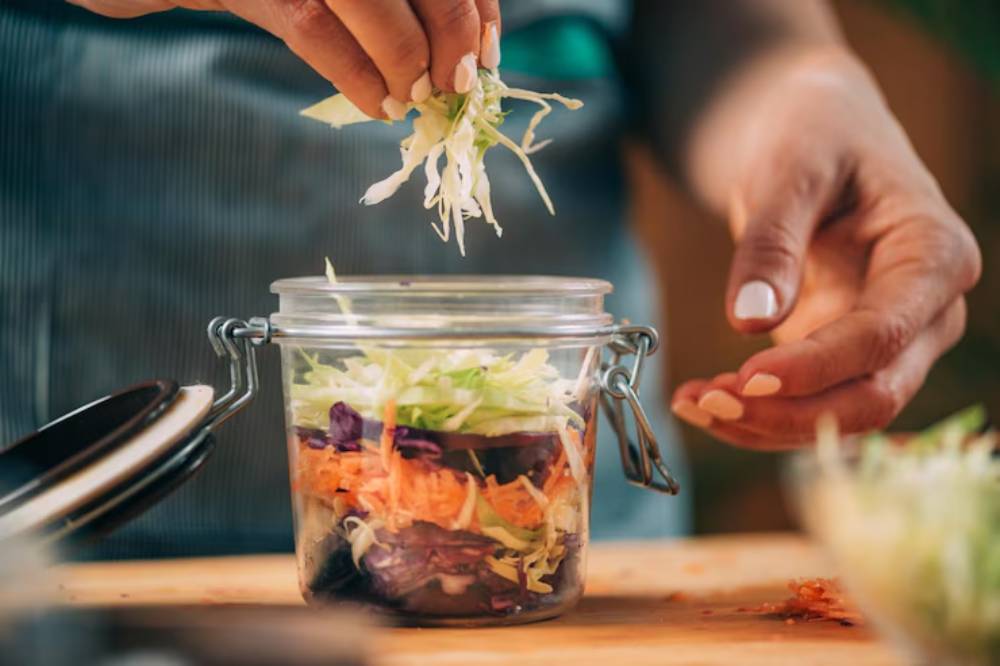
- Choose fresh, organic vegetables (like cabbage, carrots, and cucumbers).
- Wash and chop vegetables as needed.
- Prepare a saltwater brine or use a dry-salt method.
- Pack vegetables tightly into a clean glass jar.
- Ensure vegetables stay submerged under the brine.
- Cover loosely to allow fermentation gases to escape.
- Let ferment at room temperature for 5-14 days.
- Taste-test and refrigerate when the flavour is to your liking.
Secret Tip: Spices like garlic, ginger, mustard seeds, and chilli flakes boost flavour. They also help good bacteria grow by adding antimicrobial benefits.
Step-by-Step Guide: How to Make Fermented Vegetables at Home
1. Gather Your Ingredients and Tools
- Vegetables: Start with hardy options like cabbage, carrots, cucumbers, radishes, or cauliflower.
- Salt: Use non-iodised sea salt or Himalayan salt (iodine can inhibit fermentation).
- Filtered Water: Chlorine-free water is essential as chlorine can kill beneficial bacteria.
- Glass Jars: Mason jars or other airtight glass containers.
- Weights: Fermentation weights, a small clean rock, or a water-filled zip-lock bag.
2. Choose Your Fermentation Method
Dry Salt Method (Perfect for cabbage, carrots, or radishes):
- Step 1: Weigh your chopped vegetables.
- Step 2: Add salt at 2% of the vegetable weight (approximately 20 grams of salt per 1 kilogram of vegetables).
- Step 3: Rub salt into the veggies. Keep going until they release enough liquid to cover themselves.
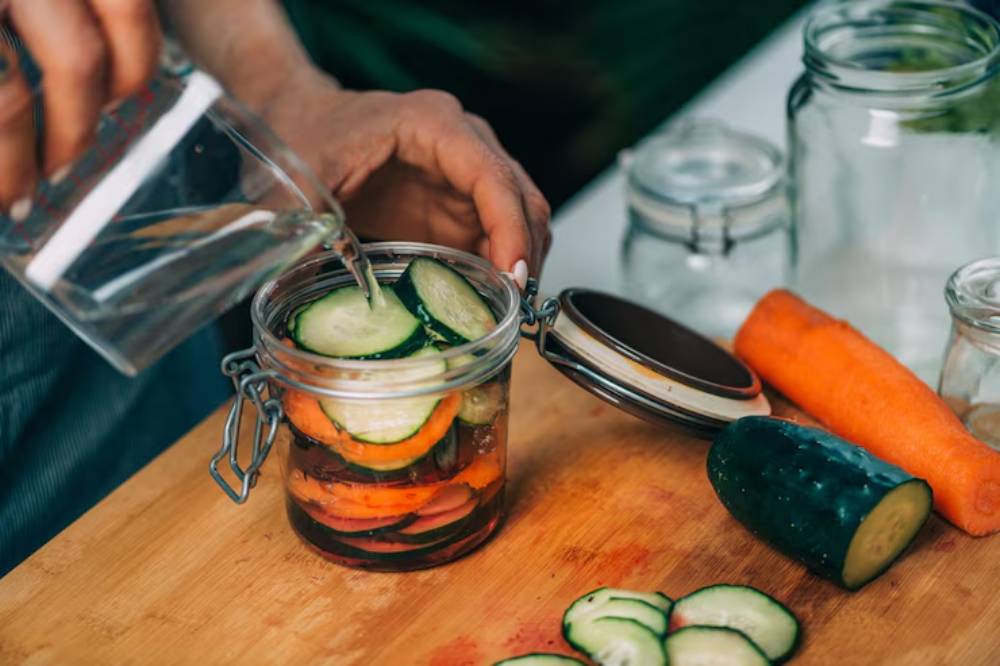
Brine Method (Ideal for cucumbers, cauliflower, or beans):
- Step 1: Dissolve 1-2 tablespoons of salt in 1 litre of filtered water to create a brine.
- Step 2: Submerge whole or chopped vegetables in the brine solution.
3. Pack the Jars
- Tightly pack vegetables into the jar, pressing them down to eliminate air pockets.
- Leave about an inch (2-3 cm) of headspace at the top of the jar.
- Use weights to ensure the vegetables stay submerged beneath the brine.
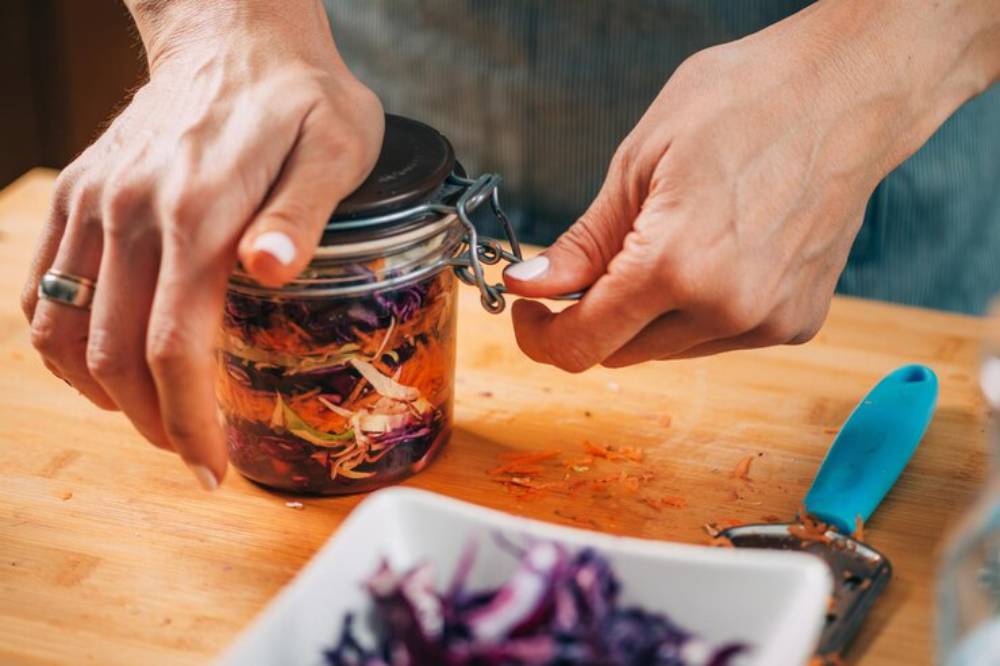
4. Cover and Store
- Use a breathable lid on the jar. You can use cheesecloth with a rubber band. Alternatively, choose special fermentation lids that let gases escape.
- Store jars in a cool, dark place (18-22°C / 64-72°F) away from direct sunlight.
5. Monitor the Fermentation
- Check daily to ensure vegetables remain submerged.
- Taste-test after 5 days. Fermentation can last up to 14 days. This depends on your flavor preferences and the room temperature.
6. Store Your Fermented Vegetables
- Once the desired tanginess is achieved, seal the jar with an airtight lid.
- Refrigerate the jar to slow down the fermentation process.
- Fermented vegetables can stay fresh in the fridge for months. They keep their flavour and probiotic benefits.
Best Practices & Additional Insights for Successful Fermentation
- Use Fresh Produce: Fresher vegetables ferment more effectively and yield better texture.
- Maintain Submersion: Always keep vegetables submerged to prevent spoilage.
- Mind the Salt: Too little salt encourages harmful bacteria. Too much can halt fermentation. Stick to recommended ratios.
- Temperature Control: Ideal fermentation temperatures are between 18-22°C (64-72°F).
Enhancing Flavours:
- Try different vegetable combos for fun: carrot with ginger, beetroot with garlic, or cabbage with dill.
- Experiment with spice blends for unique flavour profiles.
Secret Tip: Add a few cabbage leaves on top of packed vegetables as a barrier to keep them submerged.
FAQs: Your Fermentation Questions Answered
How do I know if my fermented vegetables are safe to eat?
Trust your senses. A tangy smell and a slightly sour taste are normal. Throw away the batch if you notice bad smells, slimy texture, or any mould that’s pink, black, or blue.
Can I ferment without salt?
Salt is crucial for inhibiting harmful bacteria and encouraging beneficial microbes. Some alternative methods use whey or starter cultures, but salt-free fermentation poses risks.
How long do fermented vegetables last?
Stored in the fridge, fermented vegetables can last for several months. Their tanginess may intensify over time.
Can I reuse the brine?
Yes! Using brine from a good batch can add active cultures to a new one. This helps fermentation happen faster.
Pro Tip: If you spot a white film (known as kahm yeast), it’s generally harmless. Skim it off. However, discard the batch if you see pink, black, or fuzzy mould.
Conclusion: Start Your Fermentation Journey Today!
Homemade fermented vegetables are a fulfilling and nutritious return to tradition. It also benefits your gut. This guide showed you how to formulate DIY probiotics. Now you can bring gut-friendly recipes to your kitchen.
Why not make that a step today? Just choose the veggies you like, add a dash of salt, and start fermenting for better health. Share your ferments and spread the inspiration to ferment!
Ready to boost your gut health? Start fermenting today and taste the benefits!


YOU MAY LIKE